Redmine is a Web-based project management tool. Although it can be used for the management of general projects it is specially suited for the management of software projects.
Most Redmine's functionality is provided by modules that you can enable/disable as needed on a per project basis. You can even temporarily disable a module and later reenable it, without loss of the data that module kept for your project.
In LCOM you are required to use the following two Redmine modules:
As for the other modules, e.g. Issues or Wiki, you are not required to use them, but we recommend that you take advantage of this opportunity to explore the capabilities of a Project Management Tool. Please check the 3rd YouTube video listed in Section 2 for an overview of the use of some of those modules in the management of SW projects.
All lab classes of this course will take place in the PC-labs of the B-building. The development environment for LCOM is installed on Linux. Therefore, all handouts will assume that you are using Linux. Although you can setup a similar environment on Windows, you'll be mostly on your own.
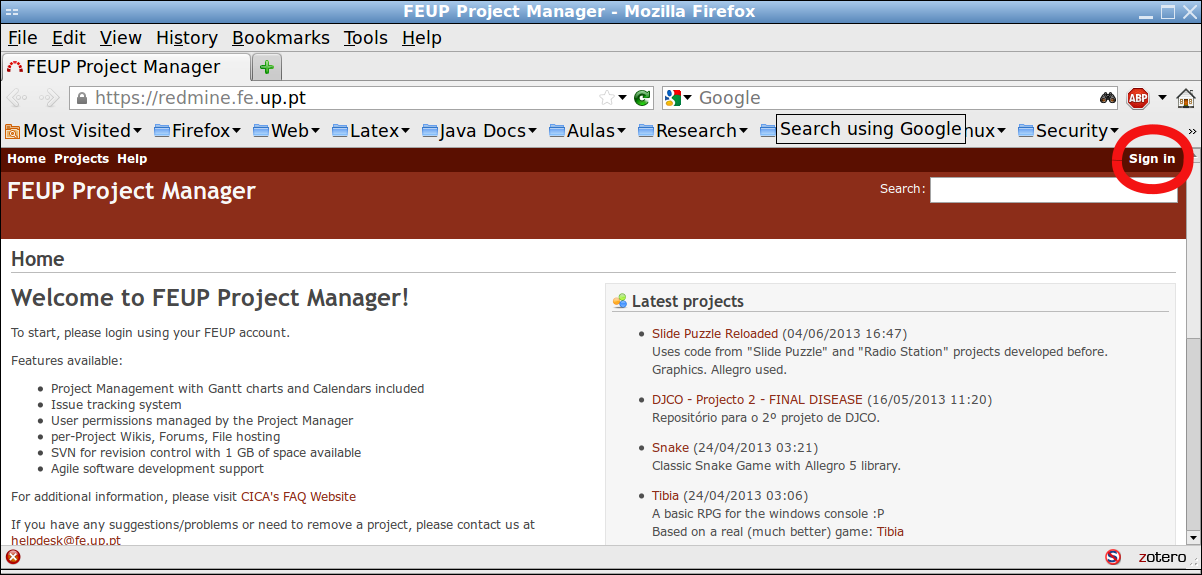
So, boot your PC in Linux, and then login using your FEUP's account and respective password. Once logged in, you can fire-up a web-browser and point it to https://redmine.fe.up.pt/.
In order to use Redmine in FEUP, you must register first. This is done automatically when you log in for the first time in https://redmine.fe.up.pt/, by clicking on the Sign in option on the top right of Redmine's homepage at FEUP and entering your FEUP's credentials (username and password).
If the login is successful, and you have not registered on Redmine yet, the web browser will show a form that you will need to fill in with your personal data, in particular your given name, your family name(s) and email address. The names you provide are essential as they are used for adding members to a project, as described below.
Throughout this semester each group will use a single Redmine Project. This Project will be used not only for the final integration project but also for each of the lab classes. Thus, your next task is to create a Redmine project for your group.
Note: There must be only one Redmine project per group. Therefore only one group member needs to follow the remaining instructions in this Section.
IMPORTANT Please follow the instructions in this section very carefully. This is very important to ensure that we will find your submissions where we expect them to be. If not, we will not be able to grade them and therefore you will get no credit for your work. This may look too harsh, but we estimate that there will be almost 100 groups in the course and if each group decided to place its submission where it pleased it, we would waste a lot of time just to get a copy of your submitted work. We need you to help us make a productive use of our time; you will also benefit from it. Thanks.
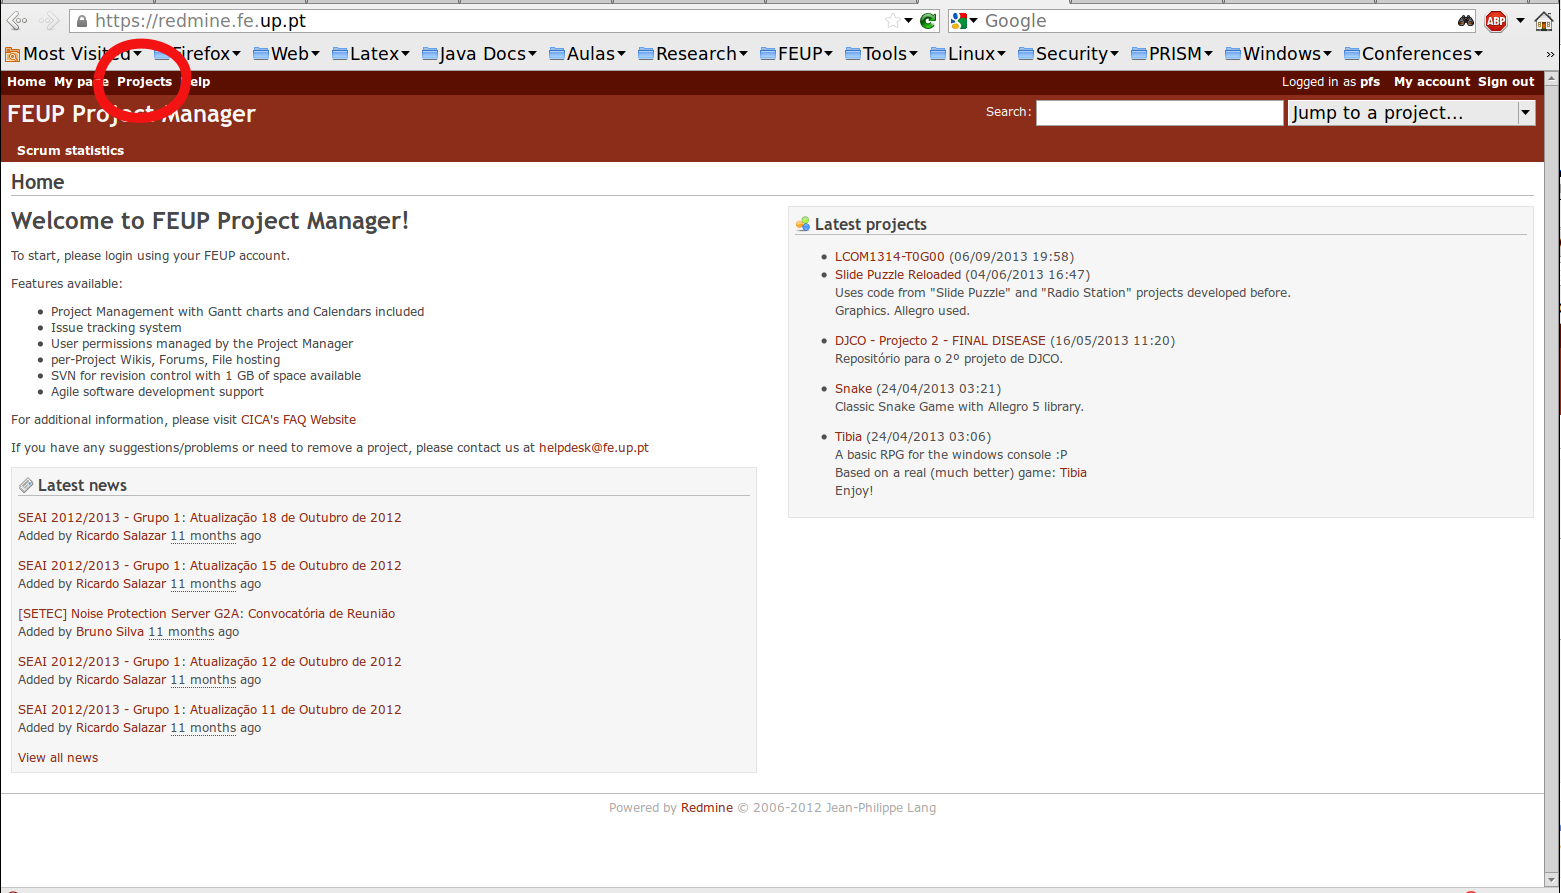
In order to create your group's project, once you are logged in FEUP's Remine, select the Projects option at the top left of the Web page.
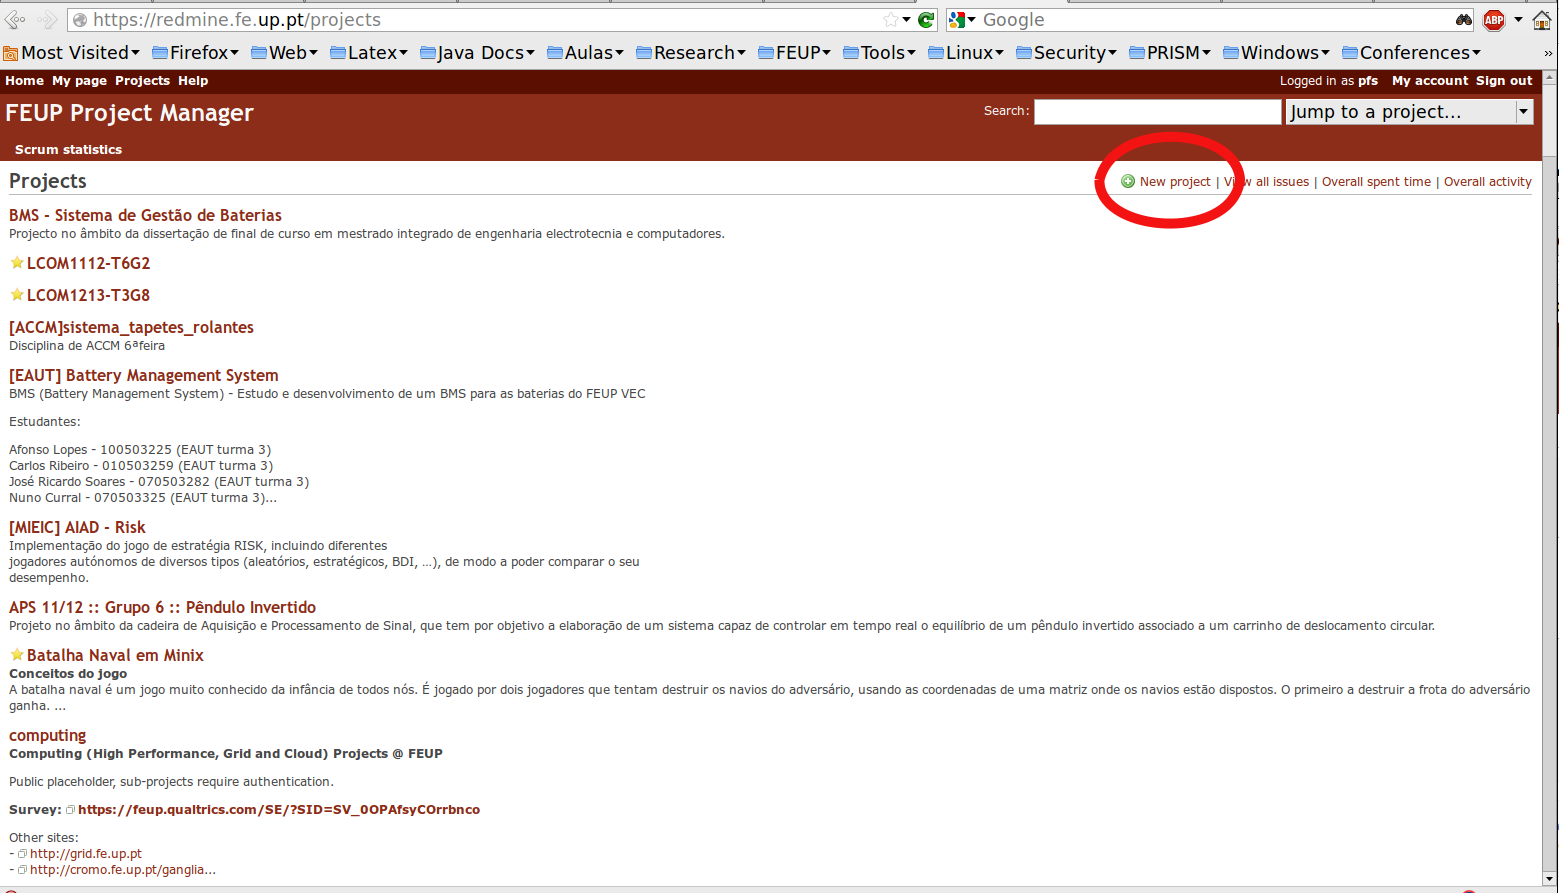
Once on the Projects-page, select the New project link on the top right of the white region of the page.
This will show the New Project form:
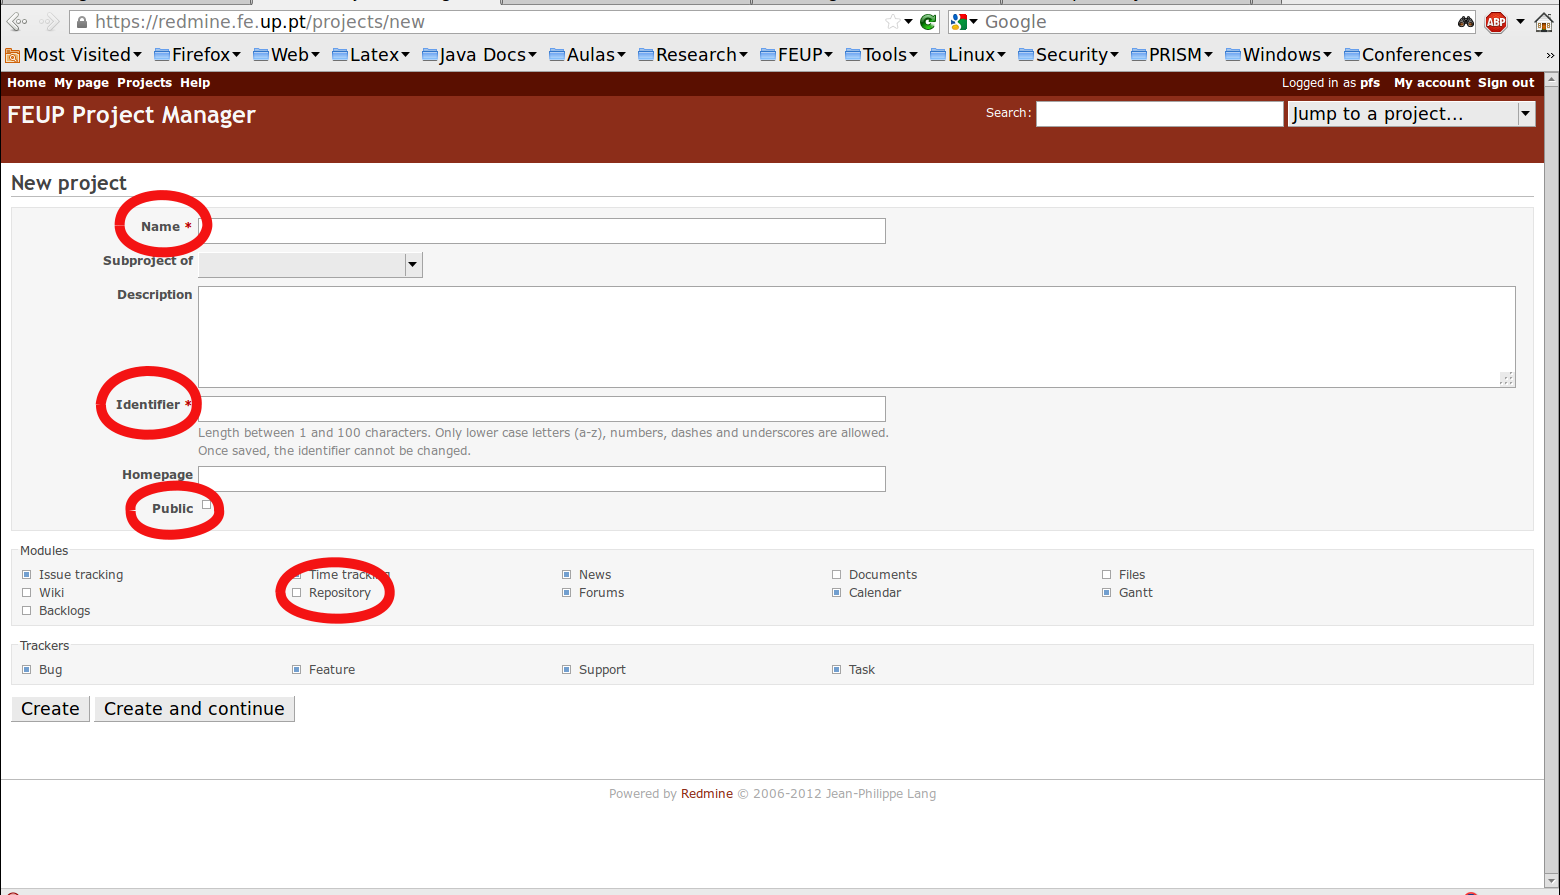
You need only to fill-in the required fields:
Please leave the Public box unchecked: this ensures that only project members have access to your project. This is important to prevent other students to take unfair advantage of your hard work. It is your responsibility to prevent this from happening, and we may penalize your grade if another group submits code very similar to yours.
Furthermore you must select the Repository module, by checking the respective box. This is critical so that the SVN repository is automatically created and linked to your project.
To avoid mistakes, I suggest that you leave the other boxes with their default values. As already mentioned, you can enable/disable them later, if you wish.
You can now click on the "Create" button, to create your Redmine project. The project will be created immediately, but the creation of the SVN repository may take a few minutes as it is done by a script that is run periodically in the background. In any case, you won't need to use the repository until the last part of this lab. So you need not wait: you can check if the repository was correctly created after the next task, i.e. adding the project members.
Whoever created the Redmine project will be automatically added as a project member in the role of Manager. If you are the manager, you should now add the other project members, and specify their roles.
The role of a member is used for access control and determines which operations the group member may perform. Redmine supports 3 roles, whose main capabilities of interest are as shown in the following table:
| Role | Capabilities of interest |
| Manager | No restrictions. E.g. can enable/disable Redmine modules for the project or change project membership. |
| Developer | May change the SVN repository. For example, update or delete source code files or add new source code files. |
| Reporter | May read contents in the project or in the SVN repository, but cannot change anything in the project or the repository. |
A project member may have more than one role.
Your project will have mainly two types of members:
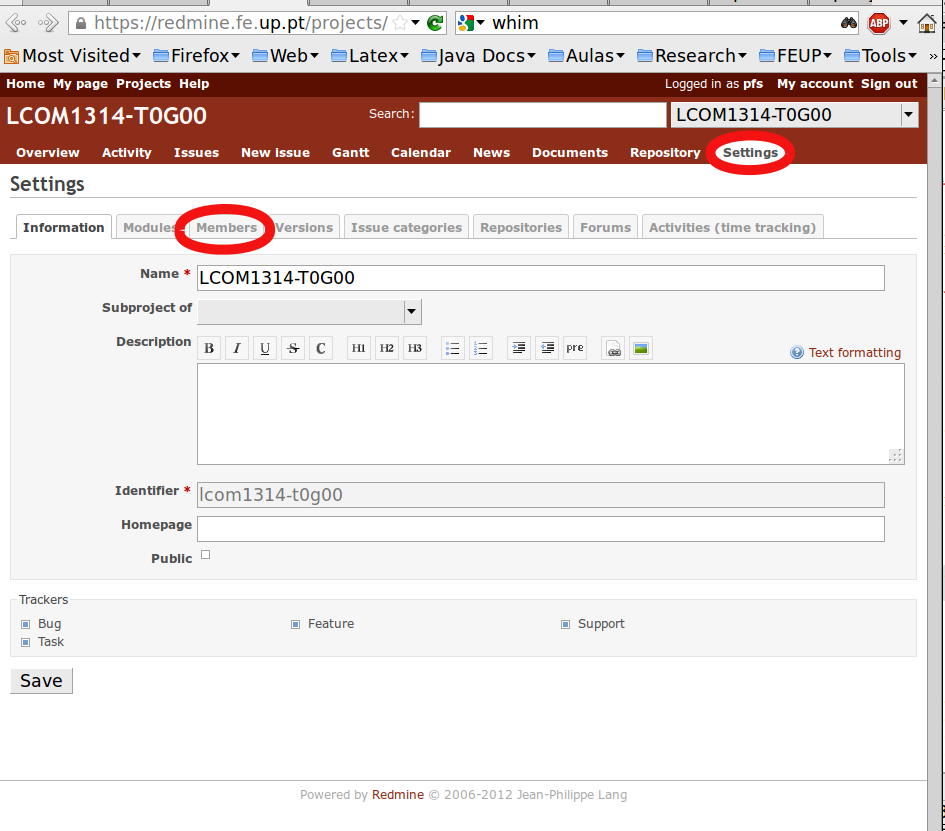
In order to add members to the group you have to select the Settings tab of your newly created project. It looks like this:
Inside that tab you need to select the Members tab, which will bring a page like the following:
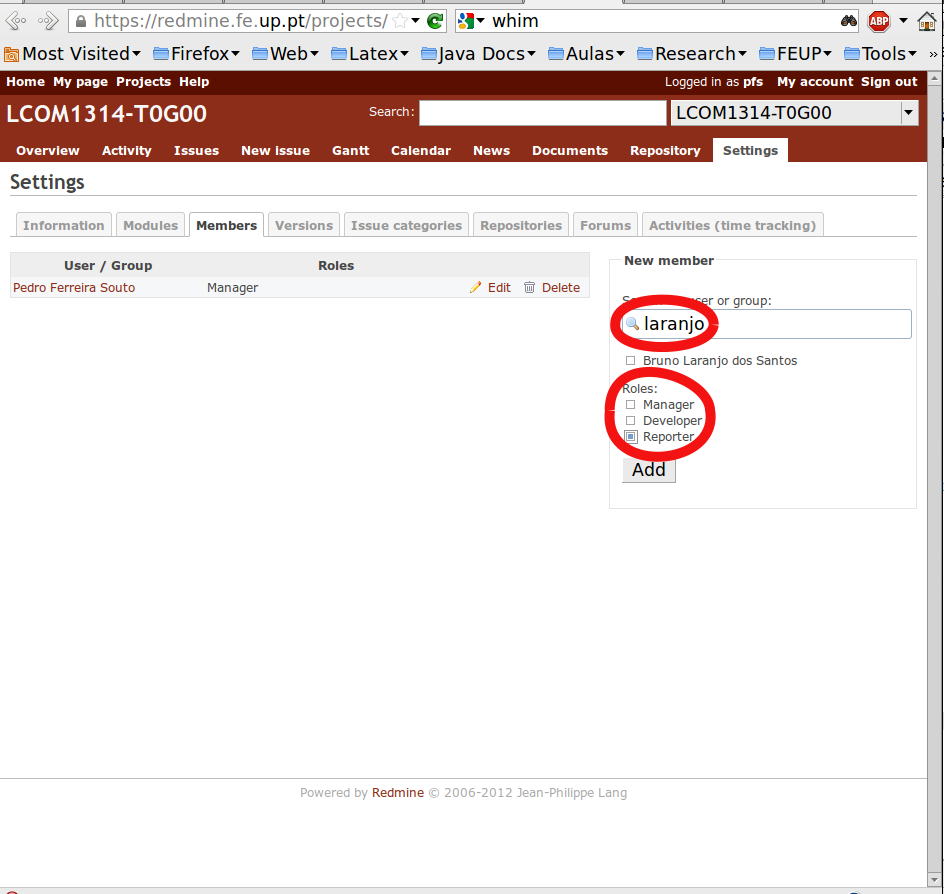
At this point you should add one member at a time. In order to select a member you should enter the email address that member provided when (s)he registered on Redmine (see Section 3.1). This way, you should get a sufficiently short list to scan. Once you have found the desired user, check the corresponding box and select her/his roles by checking the appropriate boxe(s). (You must specify at least one role. Failing to do that, may block further access to Redmine in the same browser session.) Finally, you must click on the Add button to add that user as a member with the chosen role(s).
The name of the instructors of the course and the email address with which they have registered on Redmine are as follows:
Adding the group members should have taken more than enough time for the SVN repository to be created. Therefore, you can check now if everything is working as expected. To do that select the Settings option of your project again.
Inside that tab you need to select the Repositories tab, which will bring a page like the following:
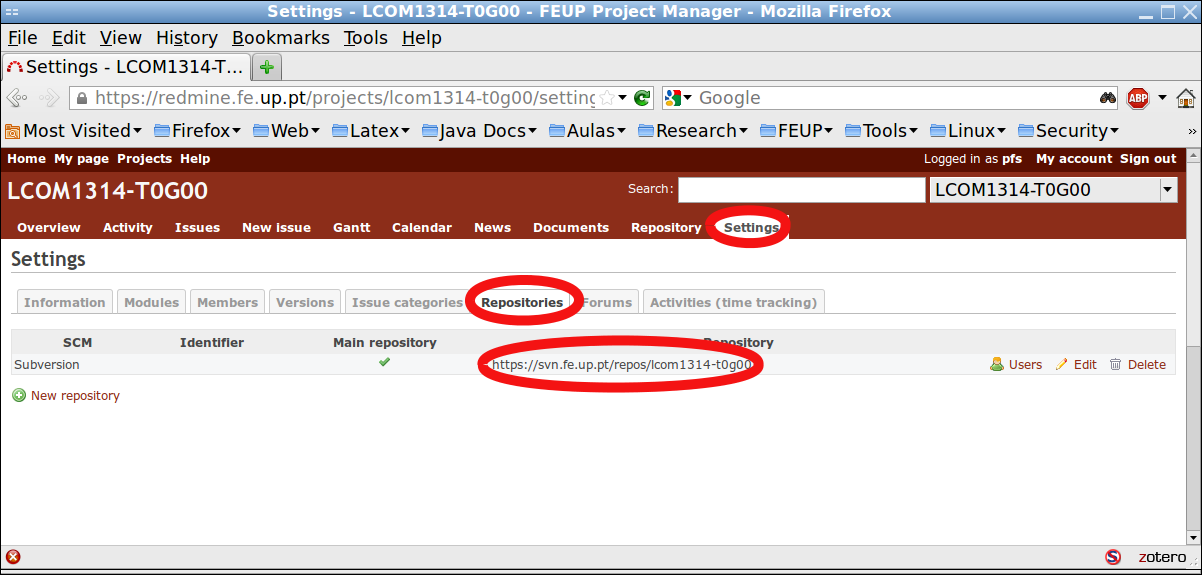
That is, your project should have a Subversion repository configured with the following URL: https://svn.fe.up.pt/repos/lcom1718-t<n>g<xy>, where the last component lcom1718-t<n>g<xy> is the identifier you should have given to your project.
If you find no Repositories tab, and you created your project more than 15 minutes ago, go to the Modules tab of the Settings tab of the project to check if the Repository module has been selected. If not, check it again, and check if the repository was created a few minutes later.
If after several attempts, the Repositories tab has not been created, you may have to visit CICA's helpdesk so that they fix the problem for you.
If you find a Repositories tab, but the URL is not as specified, check the identifier you have chosen for your project. If it is not as specified above, you made a mistake in the input of the project identifier. Please follow the instructions in Appendix 2 to fix this.
You should also check the name of your project. If it is not as specified above, please follow the instructions in Appendix 3 to correct the name of your project.