In LCOM you will develop programs that interface with I/O devices at the hardware (HW) programming level. To facilitate this development we will use the Minix 3 operating system.
These notes are the first part of a two part document about Minix and the development process that you will use in LCOM. In this part we focus on loging in Minix to help you jump start.
In the B107 lab, each PC has a VirtualBox, VBox for short, image with Minix 3.1.8. This image has two accounts. A normal user account, lcom, and the system administration account, root. Both accounts have the same password: lcom.
As a rule, you should use the lcom account. The root account should be used only if you cannot do what you need with the lcom account. Thus, source code writing and compilation should be done using the lcom account. In Lab 0, you can also run your programs using the lcom account. However, virtually all programs you will develop in other labs are privileged and you will have to run them using the root account.
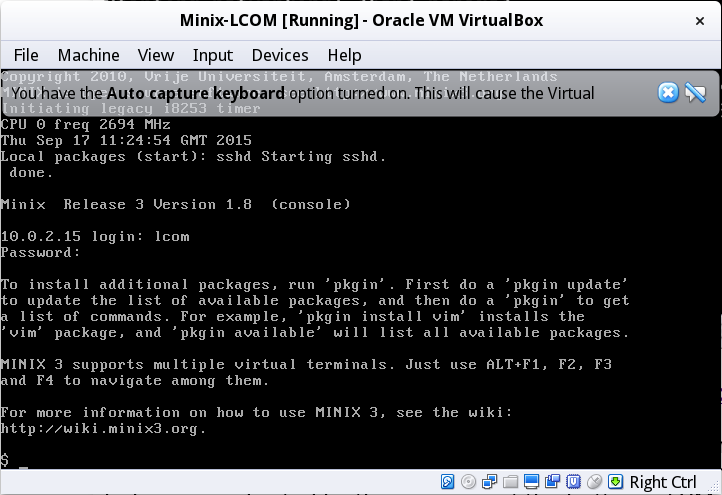
To login in Minix, all you need to do is to input the user name, either lcom or root, followed by the Enter key, and then the password, lcom, as prompted:

Minix 3 supports the concept of virtual terminals (VT). I.e. it is possible to use Minix 3 as if it had more than one terminal. The first virtual terminal is known as the console and is used by Minix 3 to output debugging information. All terminals have their own shell, a command line interface, which can be used to issue commands to Minix 3. You can select the virtual terminal to use by typing Alt+F1, Alt+F2, Alt+F3 and so on. The default Minix 3 configuration, supports up to 4 virtual terminals, as you can see by the message displayed when you login.
You can take advantage of this feature, and use multiple VTs simultaneously. You can be logged in in each VT using either identical accounts or different accounts.
Nevertheless, for the sake of convenience, we suggest that you use Eclipse's Remote System Explorer (RSE) plugin, running on Linux, to write code remotely, i.e. in the VBox image. This allows you not only to use a modern integrated development environment (IDE), but also not to lose your development session if you need to reboot Minix 3. (How to do this, is explained in Section 5 of Lab 0 handout.)
Yet another way to access the Minix 3 image on VBox is "remotely". I.e. rather than using the terminals of VBox, you may use a terminal on Linux and use the ssh utility to login on Minix 3 as follows.
You may start a terminal either using Dash of Ubuntu's Unity, as described in Section 4 of Lab 0, or using the keyboard, more specifically the shortcut Alt + Ctrl + T. Then, on the terminal, just type the command:
$ ssh lcom@127.0.0.1 -p 2222
(You can find an explanation for this command at the end of this document.)
Once logged in, you can issue Minix 3 commands from the Linux terminal, as if you were using the virtual terminals on VBox. (You can also login as root from a terminal using the command ssh root@<ip_address>).
This approach has several advantages. First, you can use a much larger number of terminals than the 4 virtual terminals available via VBox. Second, the use of these remote terminals is more convenient than that of local terminals: there is no need for special key combinations to get/release the focus and you can use standard copy/paste to copy commands from one Linux window to another window.
On the other hand, in order to see the output generated by the printf() statements of privileged processes, e.g. of the programs you will develop in later labs, you need to execute the following command on a remote terminal:
$ tail -f /var/log/messages
because that output is sent only to the console, not to other terminals.
This explanation is likely not to be of much help, if your knowledge on networking is what we would expect from a 2nd year student. However, we'd be glad to be proven wrong, so please give it a try.
The command:
$ ssh lcom@127.0.0.1 -p 2222
instructs the ssh program to login as user lcom at the local host (127.0.0.1 is an IP address that denotes the local host) port 2222, rather than ssh's default port 22. This is because the network of the VM is configured to use network address translation (NAT), i.e. the VM uses the IP address of your physical machine. Furthermore, to prevent confusion between services provided both by the host and the guest, we use port forwarding. More specifically, we configured the VM to map host port 2222 to guest port 22, which is the default ssh port. This way, we need not run the ssh server on a port different from the standard.