In your project you can use the serial port to communicate between two VMs. To develop and test serial communication you need to run both a transmitter and a receiver. I recommend that you develop and debug your code using two VirtualBoxes (VBoxes): one executing the receiver's code and the other running the transmitter's code. In these notes, we explain how you can create the necessary setup and how you can develop and test your code. They are structured as follows:
The easiest way to create a new VBox VM with Minix 3.4.0 from an existing VBox VM with Minix 3.4.0 is to clone the latter. To complete this step, you will have to change the network settings more specifically the port forwarding settings.
To clone an existing VBox VM just start the VBox Manager. Then, select the VM (Minix LCOM) to clone in the list of installed VMs, on the left of the VBox Manager window. Next, select the Machine->Clone menu option, as shown:

The clone dialog window will be shown
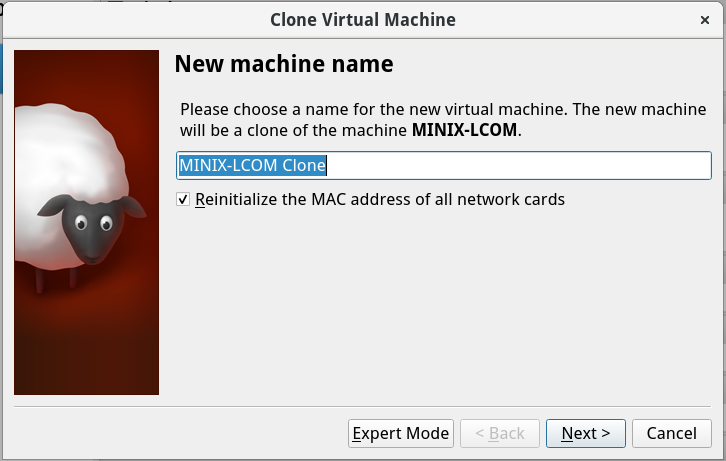
Insert the name of the new Minix VM (if you do not like the default name), and click on the Next button. The clone type selection dialog will pop-up:

If you can afford the disk space required, almost 4 GiB, just choose a Full clone, the default, instead of the Linked clone option. Indeed, the former, unlike the latter, will allow you to move the newly created VM to a different computer, something you may wish to do later in the development of your project. Be aware that this step may take a while because you will be copying about 4 GiB from a disk to itself.
The new VM is an exact copy of the original. In particular, it has the same network configuration. In order to run both VMs on the same computer and be able to use ssh to login in these VMs, you need to change the port forwarding settings, because the new VM will have the same settings as the original. So, select the new VM:
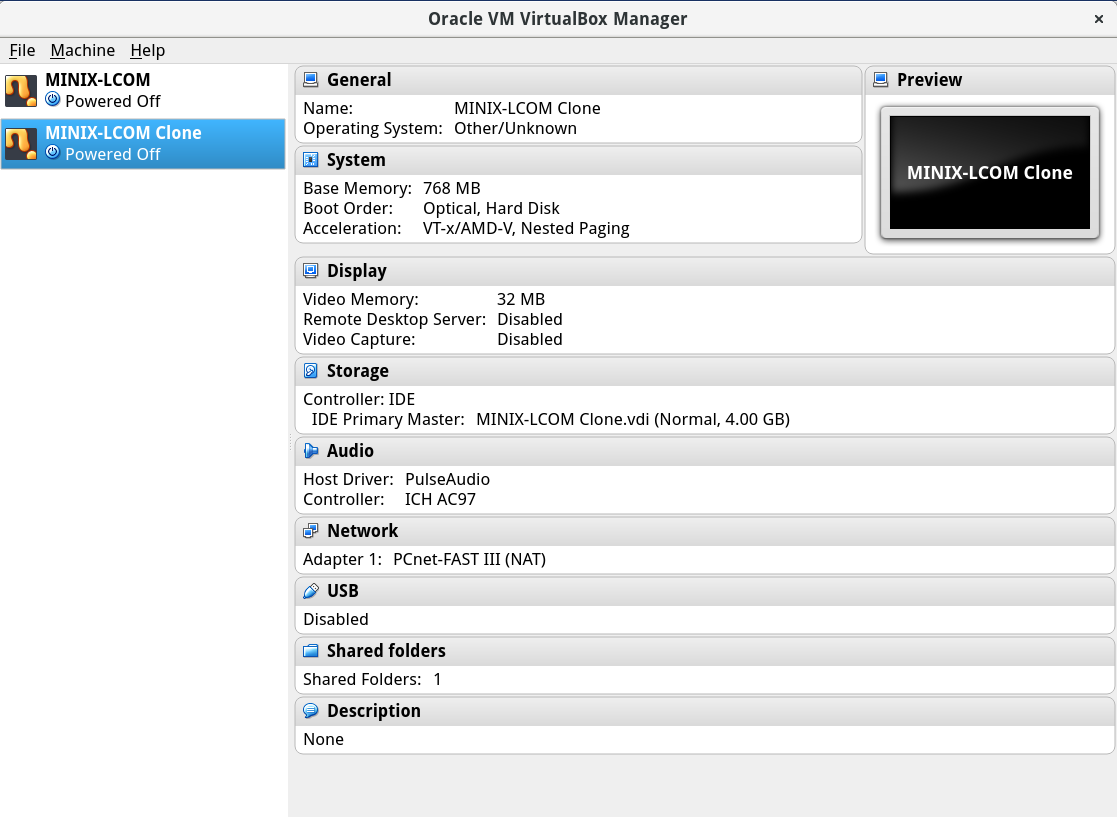
and choose the Machine->Settings menu option. A new window will be displayed:

Next select the Network option on the left list:
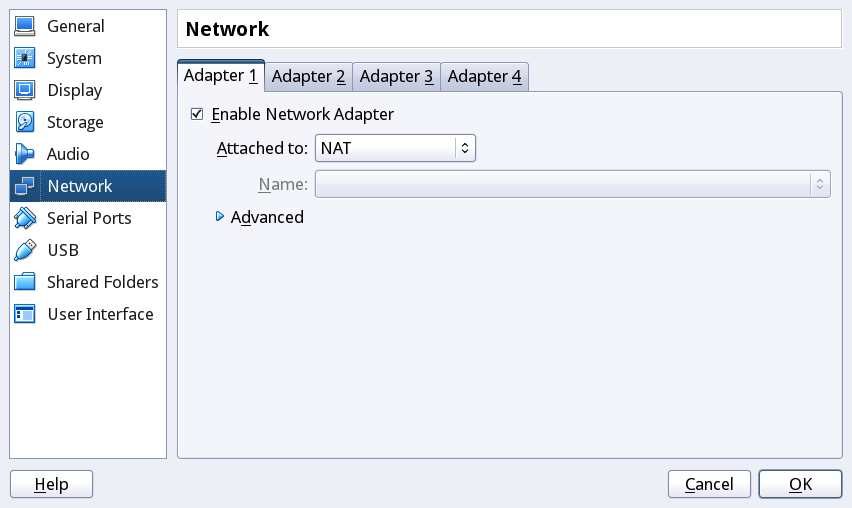
Press the Advanced "button" and then the Port Forwarding button. A new window with the settings of the original VM is shown:

On this window, change the Host Port field to a different value, e.g. 2022 (on Unix-like OSs you must type a value larger than 1023), and then press the OK button. Finally, press the OK button of the Network Settings window, to complete this step.
The second and last step is to configure the serial ports of the two VMs, so that they become connected to one another via the serial ports. The process is essentially the same for both VMs.
Again, select the VM you want to configure and then select the Machine->Settings menu option. The following window will be displayed:
This time, choose the Serial Ports entry on the left list, and the window should change to:
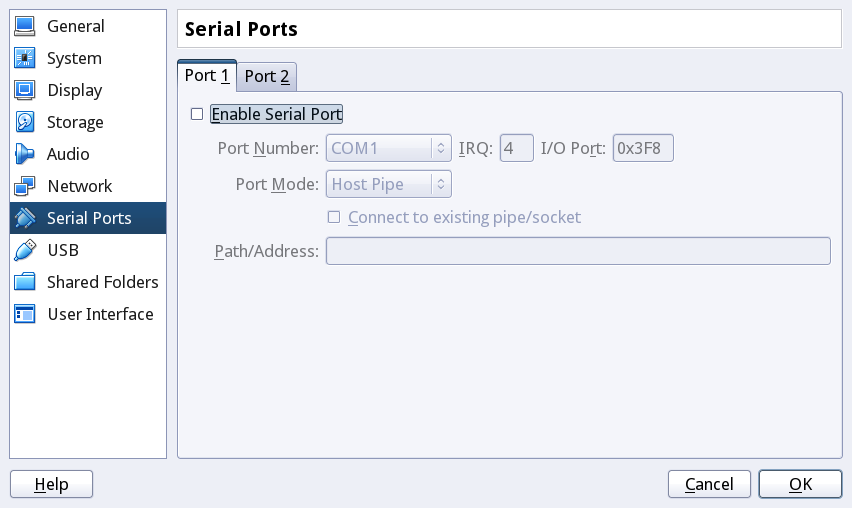
In this window, check the Enable Serial Port box and in the Port Mode: list choose the TCP option. Next, in the the Path/Address text box type a port number, i.e. a positive integer number smaller than 65536, e.g. 4321. (In Unix-like OSs, you must type a number larger than 1023.)

Leave the Connect to existing pipe/socket box unchecked and press the OK button.
To configure the serial port of the VM on the other computer, you should follow the same steps as above, except for the last one. Indeed, in the window for configuration of the serial port, you should check the Connect to existing pipe/socket box, and in the Path/Address text box you should type a string with the following format <ip_address>:<port_number>, where <ip_address> is the IP address of the other computer (check below to learn how to find that address) and <port_number> is the port number you have typed when setting up the serial port of the other VM:

These steps will add the first serial port to both VMs, i.e. COM1, and virtually connect these serial ports through the configured sockets. Your code will be able to access their UARTs as described in the lectures.
IMP.- Note that the second VM will fail to start, if the first VM is not running already. This is because the remote socket to which its socket should connect is created/destroyed by the first VM, and therefore exists only while that VM is running.
Developong and testing applications that consist of more than one process is always hard. In this case, you have to develop and test both the receiver and the transmitter functionality. However, to test the receiver you need a transmitter, preferably debugged. Likewise, to test the transmitter you need a receiver, preferably debugged.
The real problem is to have one side of the communication debugged. After that, you can test and debug the other side of the communication, independently of whether it uses polling, interrupts or any of these with FIFOs. The implementations on the two ends do not need to be equal to inter-operate. In principle, all you need is to use the same communication parameters on both sides.
In many operating systems, there are small utility programs that are able to use the serial port for basic tasks and they can be used to test each of the communication sides, one at a time. Unfortunately, I do not know of any Minix 3 utility with that capability. Therefore, to make your task easier I provide you one and its permissions/configuration file. By executing it without any arguments you'll get a "usage message", as follows:
lab7: Usage: one of the following:
 	 lcom_run lab7 -args "conf 1|2"
 	 lcom_run lab7 -args "set 1|2 <bits> <stop> even|odd|none <rate>"
 	 lcom_run lab7 -args "com 1|2 tx|rx <bits> <stop> even|odd|none <rate> <word>*"
Where the arguments have the following meaning:
conf|set|com, specifies what the program should do: show the configuration, change the configuration or send/receive data, respectively.1|2 specifies the serial port, 1 for COM1 and 2 for COM2, on which to operate<bits> and <stop> specify the number of bits per char and the number of stop bits, respectivelyeven|odd|none specifies the kind of parity<rate> specifies the bit rate (please use one of the "standard" values: 1200, 2400, 4800, 9600, 19200, 38400, 57600 or 115200)tx|rx is used only for communication, and specifies whether the program should send or receive chars, respectively<word>* is a sequence of "words", strings without spaces, to be sent, it need be provided only when the program is invoked to play the role of sender. IMP. The implementation of lcom_run, actualy the minix-service utility it uses, limits the number command line arguments that are passed to any Minix privileged program to 10. Therefore, lab7 will receive in its command line arguments at most the two first "words"; additional "words" that you add to the command line string will not be passed to lab7, and therefore lab7 will send no more than (the first) two words. (Although the length of these words is certainly bounded, we are not aware of their limits. We tested lab7 with sucess using words with 120 characters.)If you wish, you can play with this program. Make sure that the VMs are properly set, as described above, and that both serial ports are enabled. For testing communication, please start the receiver on one VM, and only afterwards start the transmitter on the other. Note that the transmitter, sends a '\n' after the last word, and terminates. In contrast, the receiver never terminates: it waits for the next char indefinitely. Thus, it can receive the "lines" sent by the invocation of the transmitter multiple times. To terminate the receiver you need to execute:
minix$ lcom_stop lab7
To configure the serial port of the second VM, you need to know the IP address of the computer that runs the firs VM. In Unix-like operating systems, you can execute the command ifconfig (in Windows, you can use the ipconfig command instead) to learn the IP address of a computer. The output will look as follows:
$ ifconfig
eth0     Link encap:Ethernet  HWaddr 00:21:5d:62:78:82
          inet addr:172.30.9.196  Bcast:172.30.255.255  Mask:255.255.0.0
          inet6 addr: 2001:690:2200:9a77:221:5dff:fe62:7882/64 Scope:Global
          inet6 addr: fe80::221:5dff:fe62:7882/64 Scope:Link
          UP BROADCAST RUNNING MULTICAST  MTU:1500  Metric:1
          RX packets:23303302 errors:0 dropped:4 overruns:0 frame:0
          TX packets:451083 errors:0 dropped:0 overruns:0 carrier:0
          collisions:0 txqueuelen:1000
          RX bytes:3831961730 (3.8 GB)  TX bytes:108440744 (108.4 MB)

lo        Link encap:Local Loopback
          inet addr:127.0.0.1  Mask:255.0.0.0
          inet6 addr: ::1/128 Scope:Host
          UP LOOPBACK RUNNING  MTU:16436  Metric:1
          RX packets:26131 errors:0 dropped:0 overruns:0 frame:0
          TX packets:26131 errors:0 dropped:0 overruns:0 carrier:0
          collisions:0 txqueuelen:0
          RX bytes:16152047 (16.1 MB)  TX bytes:16152047 (16.1 MB)
The IP addresss is the field inet addr of the eth0 interface. (Assuming you are using the PCs in the labs of the B building. If you are testing via a wireless connection, the network interface will likely be named wlan0.) Therefore, in this example, the IP address of the first computer is 172.30.9.196. (You may also find the IP address, using a GUI. Just start SystemSettings, and select the network icon.)
Although the configuration procedure described in the previous paragraph also works when you are running VMs on the same computer, in this case you do not need to use ifconfig. All you need to do is to use the loopback address (127.0.0.1), or even the word localhost instead of the IP address, upon configuring the second VM:
